
Xendit is a payment gateway that lets your members pay for packages online — by card, e-wallet, and other local channels. It's Vibefam's payment gateway for studios in Indonesia, the Philippines, and Vietnam. This article walks through connecting Xendit to Vibefam, enabling it for recurring packages, and fixing recurring-payment failures.
- Set up Xendit
- Finish setup in your Xendit dashboard
- Enable recurring packages (webhooks)
- Recurring payments failing? Here's the fix
- Quick Checklist
Xendit is the payment gateway for studios in Indonesia, the Philippines, and Vietnam. If your studio is in another region, or you're not sure which gateway applies to you, check with your account manager.
Set up Xendit
You start the connection from inside Vibefam.
- In your Vibefam admin portal, click Schedule in the left sidebar.
- Click Set Up Xendit at the top of the page.
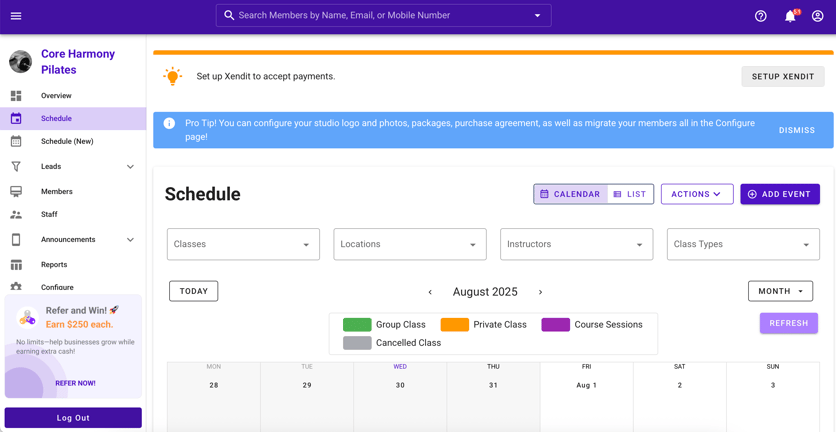
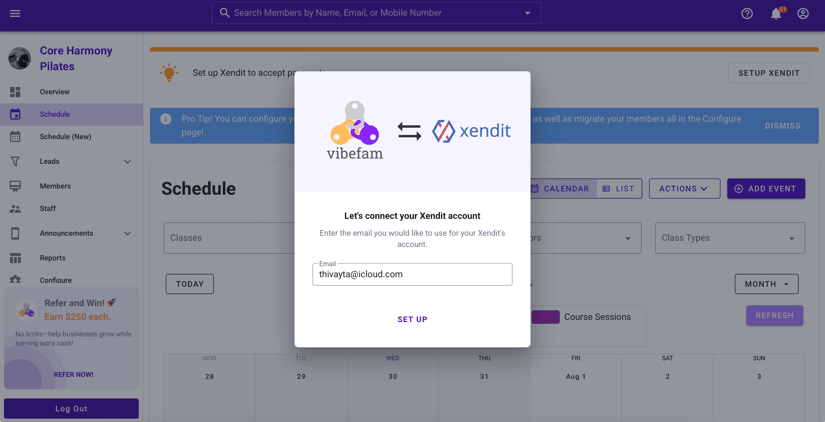
- Enter your email when prompted — use your studio email so everything stays together.
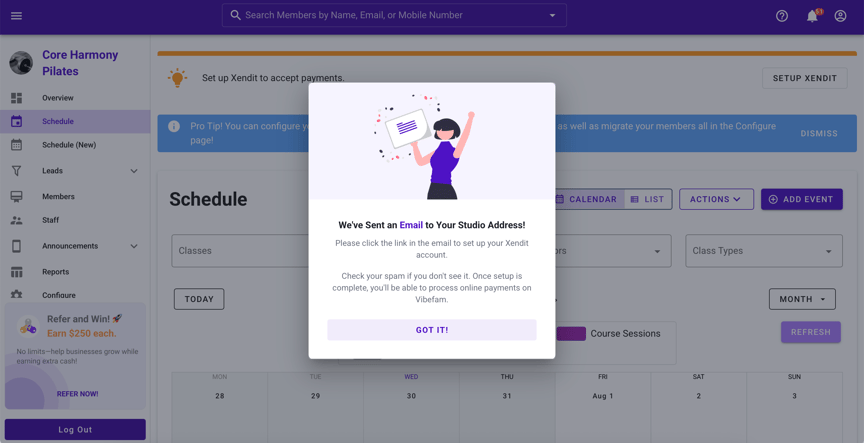
- A pop-up confirms: "We've sent an email to your studio address."
- Open your inbox and find the email titled "Account Creation Invitation – Xendit."
- Click Create Account to open the Xendit creation page.
- Fill in your details — Full Name, Business Name (your studio), Email (the same one you signed up with), and a password.
- Enter the verification code Xendit emails you.
- Complete the Xendit setup page — your studio location and any other required details.


Once done, you'll land on the Xendit dashboard, and Xendit is linked to Vibefam. 🎉

Linked isn't the same as live. Connecting Xendit doesn't mean you can collect payments yet — you need to finish a few steps in the Xendit dashboard first (below).
Finish setup in your Xendit dashboard
Before members can pay, complete these in Xendit:
1. Submit your business documents for approval
In your Xendit dashboard, upload the required documents (e.g. business registration, director ID). Xendit reviews and approves within 1–3 business days. If anything's missing, Xendit emails you directly.
2. Activate your payment channels
Go to Payment Channels in the Xendit dashboard and enable the ones you want — Credit/Debit Cards, FPX, e-wallets, and so on. Some channels (Cards especially) may need extra KYC documents.
If you sell recurring memberships, enable Cards. Most recurring packages are billed to cards, so activating the card channel now avoids renewal failures later.
3. Check fees and payout timelines
Xendit maintains a reference sheet of all supported payment methods, their fees, whether each supports recurring packages, and payout timelines. Check it so you know the cost and payout timing of each method before enabling it.
Enable recurring packages (webhooks)
For recurring packages to work, Xendit needs to tell Vibefam when a payment happens — this is done with a webhook. You set this up once in your Xendit dashboard.
Prerequisites: an active Vibefam studio, and a Xendit account that's set up and able to accept payments.
On desktop
- Log in to the Xendit dashboard.
- Bottom-left, click Settings.
- Under Developers, click Webhooks.
- Find Payment Session Completed and enter this URL:
https://api.vibefam.com/xenditWebhooks/session
- Click Test and Save.


On mobile
- Log in to the Xendit dashboard.
- Tap the menu (three lines) at the top.
- Tap Settings.
- Scroll to Webhooks.
- Find Payment Session Completed and enter the same URL:
https://api.vibefam.com/xenditWebhooks/session
- Tap Test and Save.


Recurring packages now require two webhooks — the one above and the Payment Status webhook in the next section. Set up both.
Recurring payments failing? Here's the fix
If recurring package renewals through Xendit have been failing, there's a required second webhook that fixes it.
This applies to you if:
- You're an existing studio whose recurring renewals have been failing, or
- You're a new studio setting up recurring packages with Xendit for the first time
📌 This is the current working solution while we coordinate a permanent fix with Xendit. We'll update this article once that's in place.
Step 1: Add the Payment Status webhook
In addition to the Payment Session Completed webhook above, add a second one:
- Log in to the Xendit dashboard.
- Go to Settings → Developers → Webhooks.
- Find the Payment Requests V3 section.
- Under Payment Status, enter this URL:
https://api.vibefam.com/xenditWebhooks/v3/payment_status - Click Test and Save.
ℹ️ Even if you set up the Payment Session Completed webhook earlier, you still need to add this Payment Status webhook. Recurring packages require both.
Step 2: Tell us it's done
Adding the webhook isn't enough on its own — we need to whitelist your studio manually for the fix to take effect. Contact the Vibefam support centre (or help@vibefam.com) to confirm you've added the webhook.
Step 3: Retry failed renewals
Once we've confirmed your studio is whitelisted, go to your admin portal and retry any renewals that previously failed. They should now process normally.
Quick checklist
Before your first recurring charge, confirm:
-
- Xendit is linked to Vibefam
- Business documents submitted and approved in Xendit
- Cards channel enabled (for recurring billing)
- Payment Session Completed webhook saved
- Payment Status webhook saved
- Your studio confirmed as whitelisted by Vibefam support