
Your booking website is where members buy packages and book classes online. It works out of the box — you get a Vibefam-hosted page from day one — but a few settings make it match your studio and steer members to the right place.
Booking Website - Only available from Most Popular Plan onwards
Navigate to Configure → Booking Website.
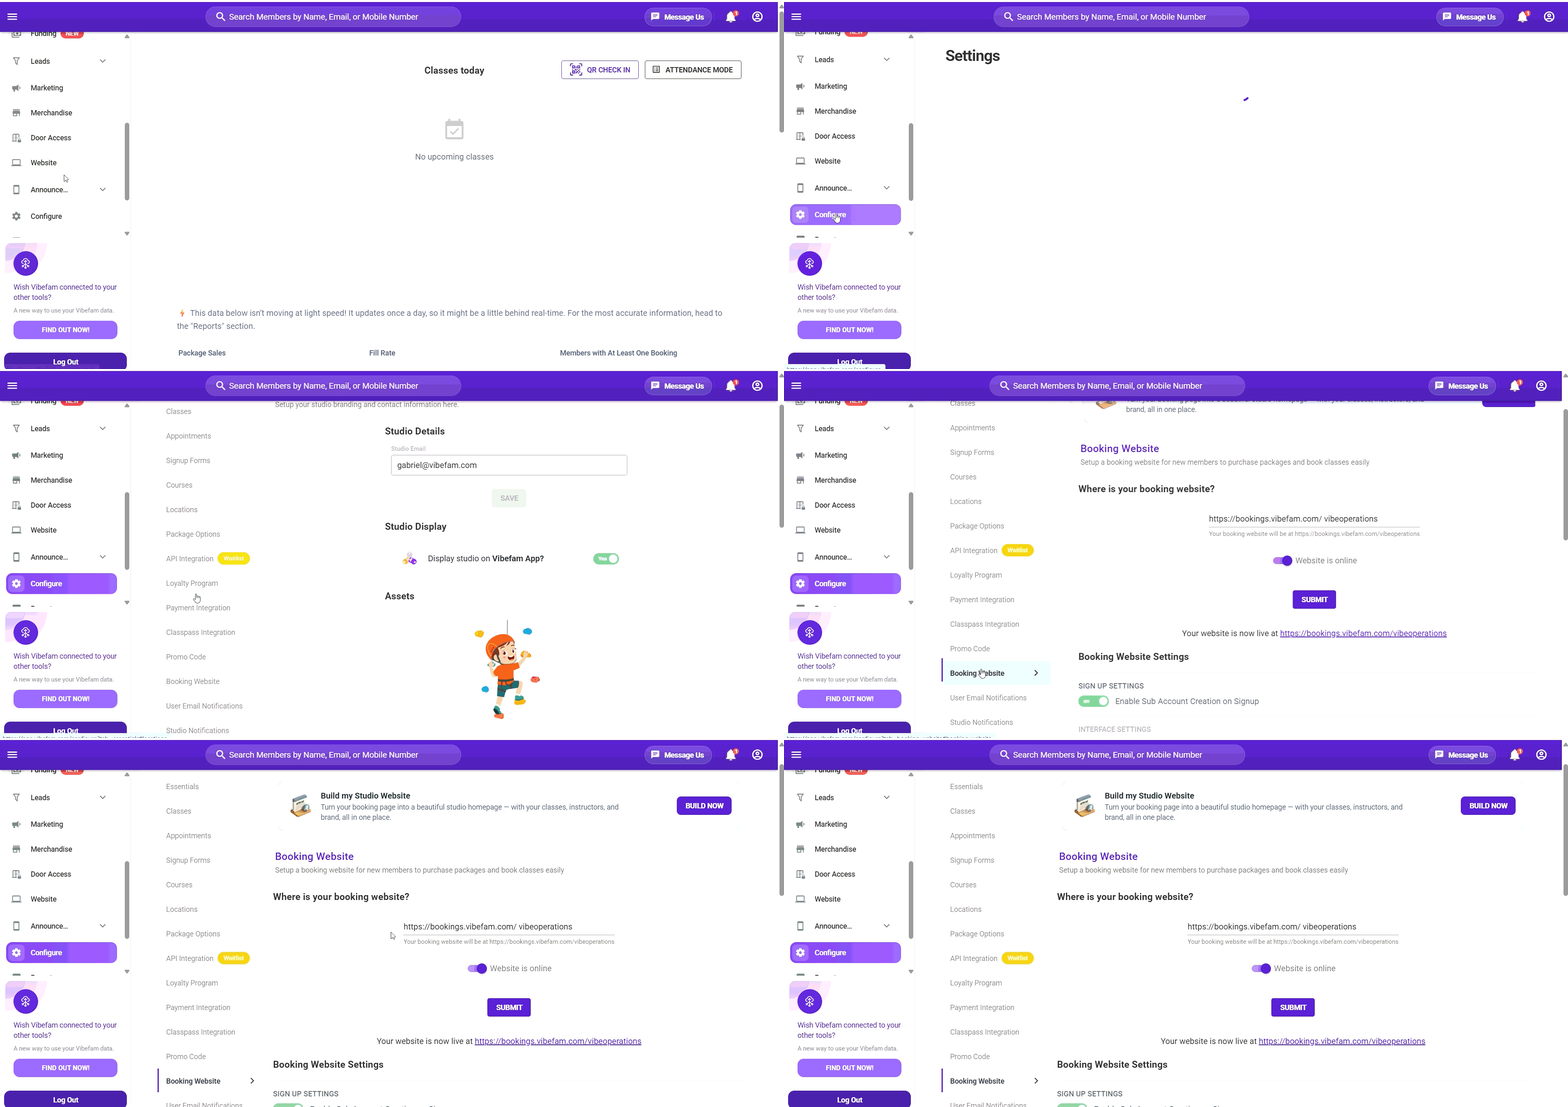
Looking for a full branded homepage instead of the standard booking page? The Build My Studio Website banner at the top of this screen turns your booking page into a complete studio homepage. That's a separate feature from the settings below.
Where is your booking website?
Your booking website lives at a Vibefam address in the form:
https://bookings.vibefam.com/your-studio-name
You can edit the last part of that URL to match your studio. Choose it carefully — it's the link you'll share everywhere, so keep it short, recognisable, and ideally the same as your social handles. Click Submit to save.
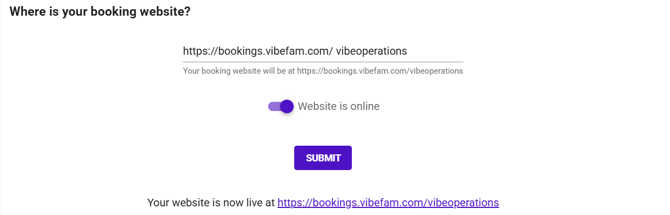
Website is online — this toggle controls whether your booking website is live.
- On — members can reach your site, browse, and buy
- Off — the site is taken down
Leave it off while you're still setting up, and switch it on once you've checked everything. Once it's on, the confirmation shows your live link, which you can copy and share.
Sign Up Settings
Enable Sub Account Creation on Signup — lets a member create linked sub-accounts under their own login, for example a parent managing bookings for their children, or one person booking for a couple.
- Turn this on if you have families or members who book on behalf of others
- Turn it off if you want one account per person, for cleaner attendance and membership records
Interface Settings — making it look like yours
Light / Dark Mode
Sets the overall background theme of your booking website. Pick whichever suits your branding and, importantly, keeps your text readable against it.
Primary Colour
Your main brand colour, used for buttons and highlights. Enter your exact brand colour as a HEX code (e.g. #137AA0) rather than picking by eye, so it matches the rest of your branding precisely. If you don't know your HEX code, it's usually in your brand guidelines or can be pulled from your logo.
Font Colour
The colour of the text on your site. The key thing here is contrast — make sure your font colour is clearly readable against your chosen light or dark background. Dark text on a light background (or the reverse) is safest. Test it before going live.
Tab Settings — what members see
Three controls decide how your booking website is organised.
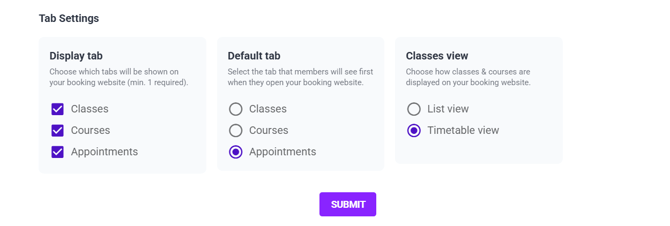
Display tab — which sections appear on your site: Classes, Courses, Appointments. Tick only what you offer. At least one must be selected. If you don't run courses, for example, untick it so members aren't shown an empty tab.
Default tab — which section members land on when they open your site. Set this to whatever you most want members to book. If classes are your core business, default to Classes so members see your schedule immediately.
Classes view — how your classes and courses are displayed:
- List view — a straightforward list of sessions
- Timetable view — a weekly grid
Timetable view suits studios with a busy, repeating weekly schedule. List view suits studios with fewer sessions or one-off events. Choose whichever makes your schedule easiest to scan, and remember to click Submit.
Before you go live
- Open your booking website in a private browsing window to see it as a member does
- Check your primary and font colours are readable together, on both desktop and mobile
- Confirm the right tabs are showing and the default tab is the one you want members to see first
- Make sure your packages, classes and payment integration are all set up, since this is the page members will use them on
- Only switch Website is online on once everything above checks out
Whenever you change a setting on this page, click Submit to save it. Some sections have their own Submit button — save each one.